
In this post, I’m going to do a step-by-step walkthrough for building a project that will do speech recognition for a HoloLens 2. Mostly these steps are the same for anytime you want to use MRTK to recognize speech. In the few places where the settings are specific to the HoloLens 2, I’ll call out what’s specific. Let’s get started.
-
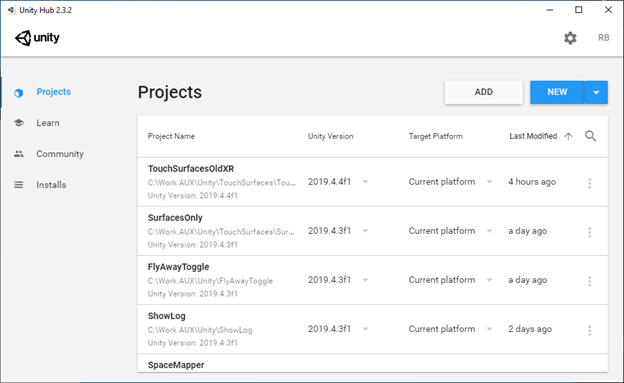
Launch Unity Hub.
-
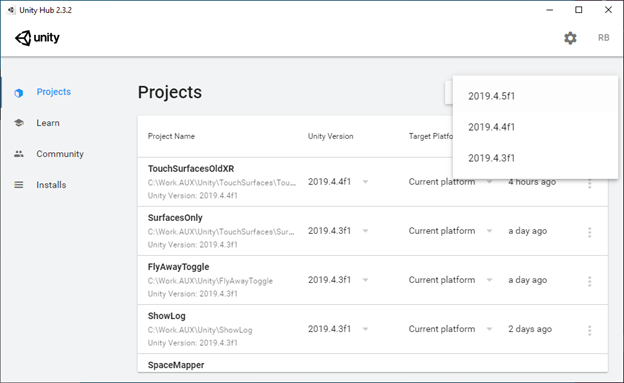
Click the New button and select the version of Unity that you want to use for your project. We’re going to use 2019.4.5f1 for this walkthrough.
-
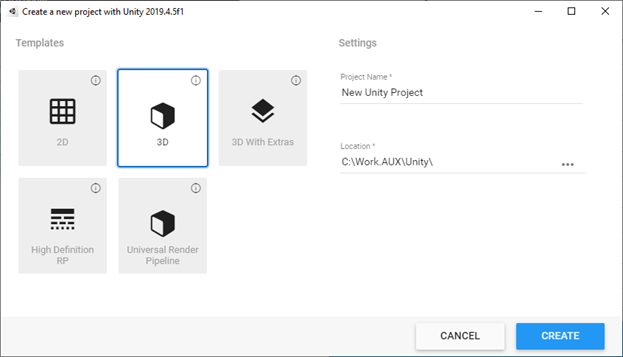
Enter the project name and folder for your project, then click Create. We’re going to be using SpeechDemo as our project name.
-
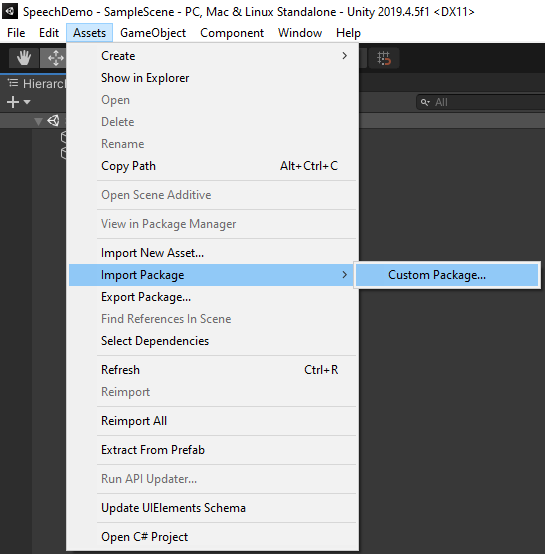
Once Unity has finished loading (which may take a while), go to Assets, Import Package, Custom Package…
-
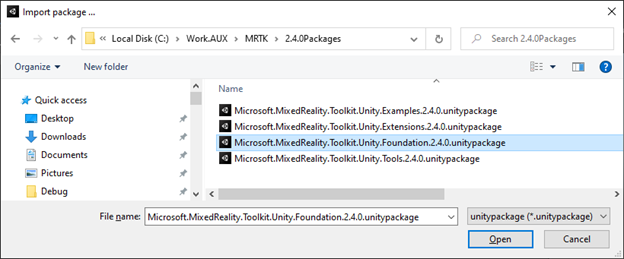
Locate the MRTK Foundation Package that you previously downloaded to your local machine and click OK. In this case, we’re using the 2.4.0 build of MRTK.
-
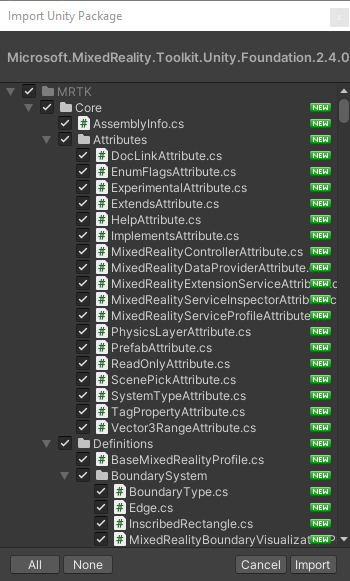
When the assets list is displayed, click Import.
-
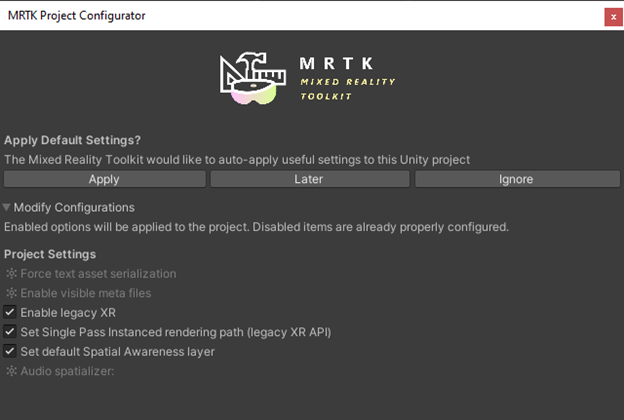
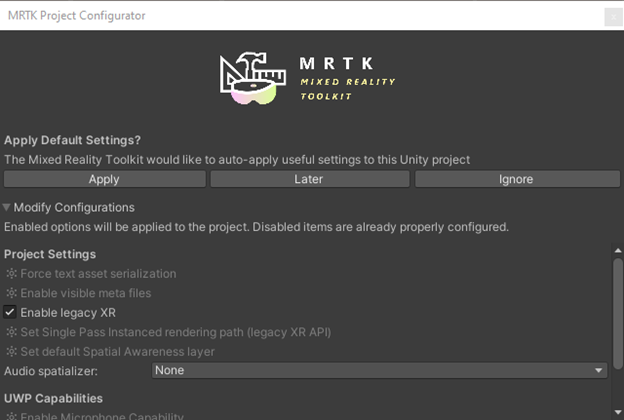
After the assets are imported, on the MRTK Project Settings Dialog, click Apply.
-
Close the MRTK Project Settings Dialog, then go to the Mixed Reality Toolkit menu and select the Add to Scene and Configure… option.

-
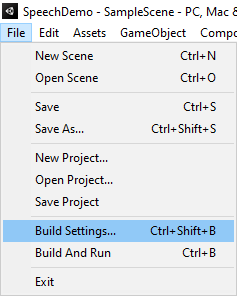
In the File menu, go to Build Settings…
- Click the Add Open Scenes button to add the current open scene to the build.
-
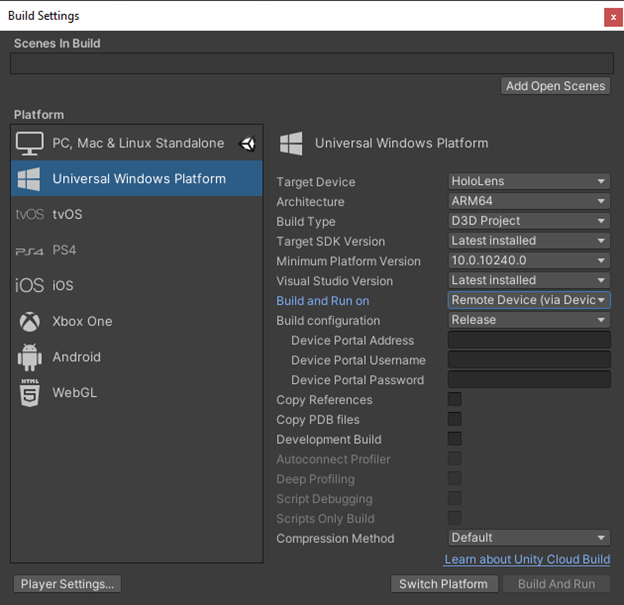
Change the build settings to Universal Windows Platform, and, if you’re using the HoloLens 2, set the Target Device to HoloLens and the Architecture to ARM64. For Build and Run on, select Remote Device. Click the Switch Platform button to complete the switch.
-
After the platform is switched, the MRTK Project Settings dialog reappears. Click Apply to reapply the MRTK settings, then close the dialog.
- In the Build Settings dialog, click the Player Settings button in the lower left-hand corner to show the project’s player settings.
-
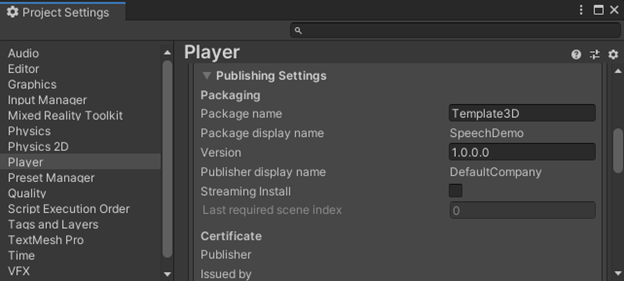
Expand the Player Publishing Settings and change the package name to match the name of the project. (This prevents deployments from overwriting other projects and vice versa.)
-
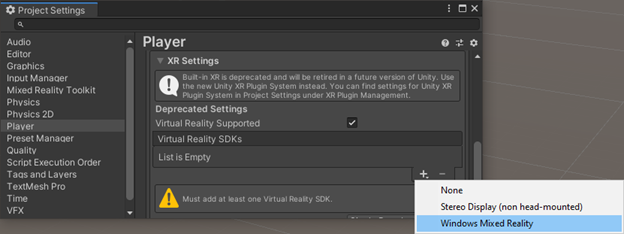
Scroll down and expand the XR Settings area of the player. Click the plus button and select Windows Mixed Reality. Doing this will allow the project to open in 3D view on a HoloLens instead of in a 2D slate.
- After you apply the Windows Mixed Reality settings, the MRTK Project configuration dialog reappears; just close it.
-
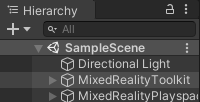
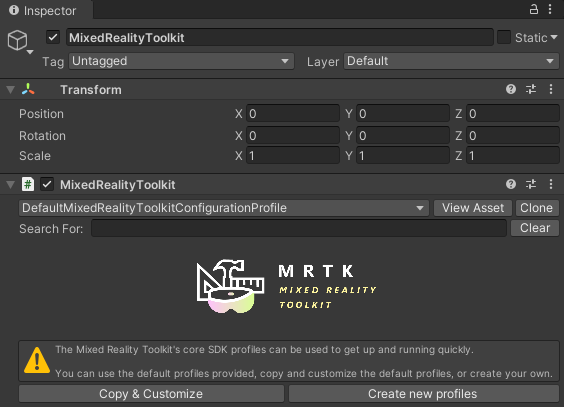
In the Hierarchy, verify that the MixedReality Toolkit object is selected.
-
In the Inspector, click the Copy & Customize button to create a copy of the profile. This is done because you cannot make changes to the provided profiles. We’ll be making copies of the main profile, the input profile, and the speech profile over the next several steps.
-
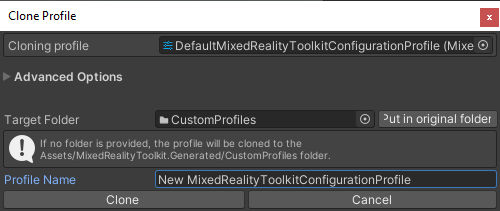
Click Clone to create the new MRTK profile.
-
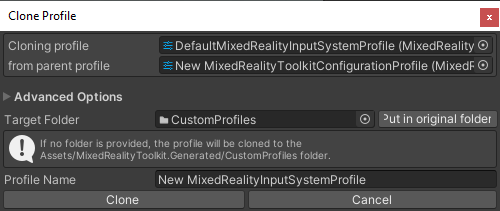
In the Inspector tab, go to Input, then click the Clone button.

-
In the Clone Profile dialog, click Clone.
-
Expand the Speech section of the input profile and click the Clone button.
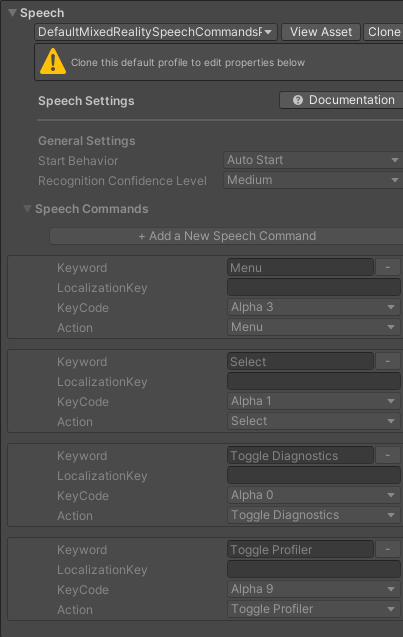
-
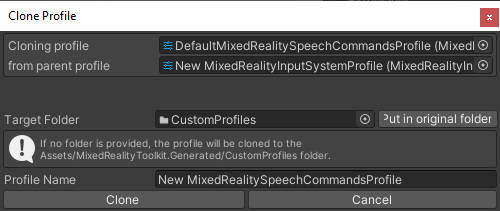
In the Clone Profile dialog, click the Clone button.
-
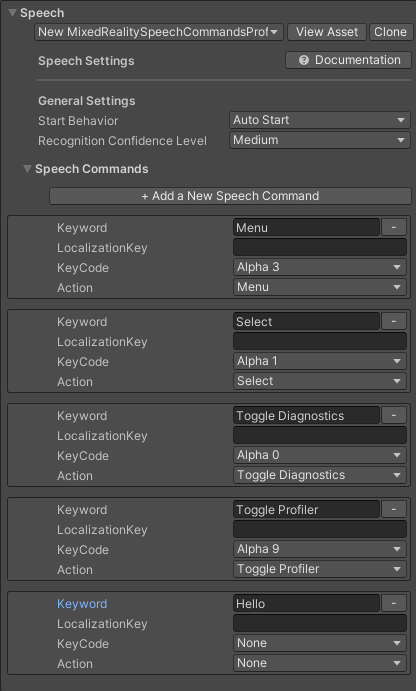
Click the Add a New Speech Command button. In the new item that appears on the bottom, enter the word hello. This is the word we’re going to use to trigger our script.
- Go to the Assets menu, select Create, and C# Script.
-
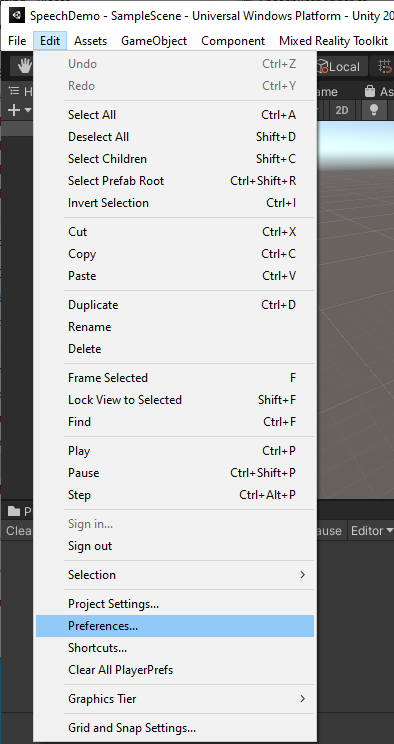
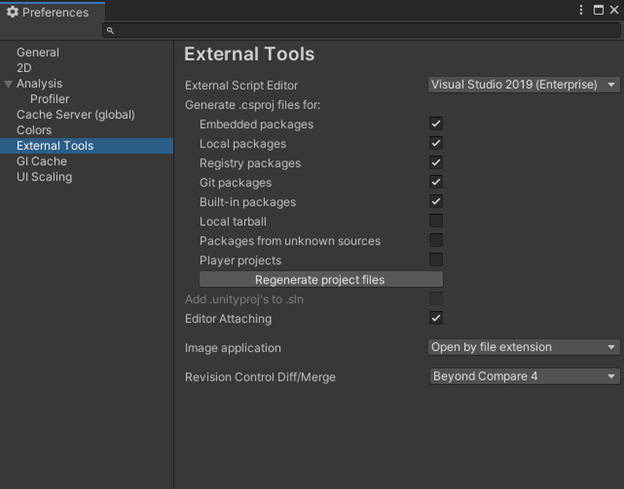
If you’ve never configured Unity to use Visual Studio as the editor for scripts, you may want to do that now by going to Edit and then Preferences... (If it’s already configured, you can skip to step 27.)
-
Go to External Tools and set External Script Editor to Visual Studio – whatever version you have. We’re using Visual Studio 2019 (Enterprise) for this demo. It is functionally the same as the community version for the purposes of this walkthrough.
-
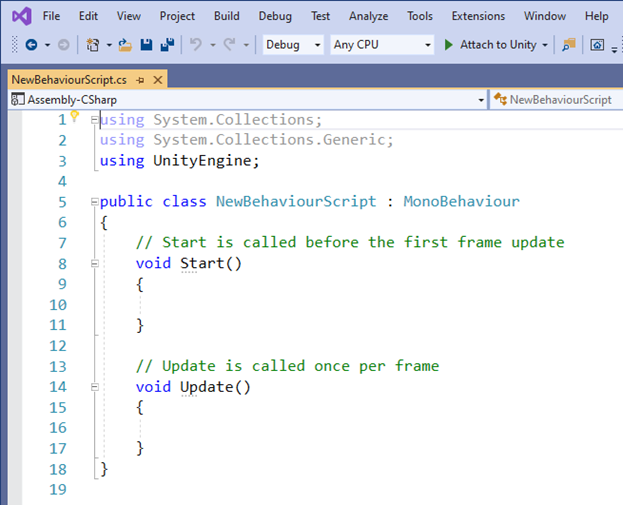
Double-click the NewBehaviorScript.cs that was created. Visual Studio appears with the file open.
-
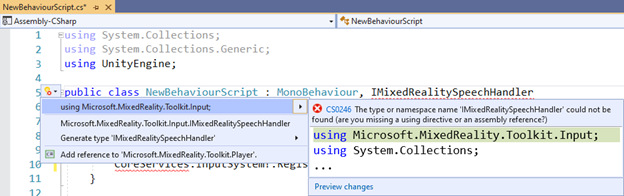
Enter the interface IMixedRealitySpeechHandler, and then right-click the squiggles and select quick actions to have Visual Studio suggest the using statement for Microsoft.MixedReality.Toolkit.Input. Click this entry or press Enter to accept the change.
-
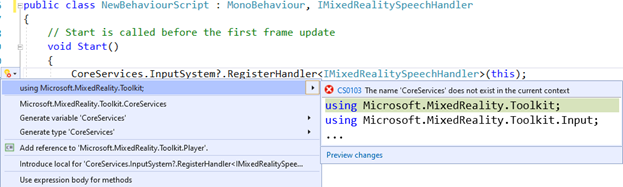
In the Startup() method, add the line CoreServices.InputSystem?.RegisterHandler<IMixedRealitySpeechHandler>(this); to register this script to receive events. Right-click the squiggles and select quick actions to have Visual Studio suggest the using statement for Microsoft.MixedReality.Toolkit. Click this entry or press Enter to accept the change.
-
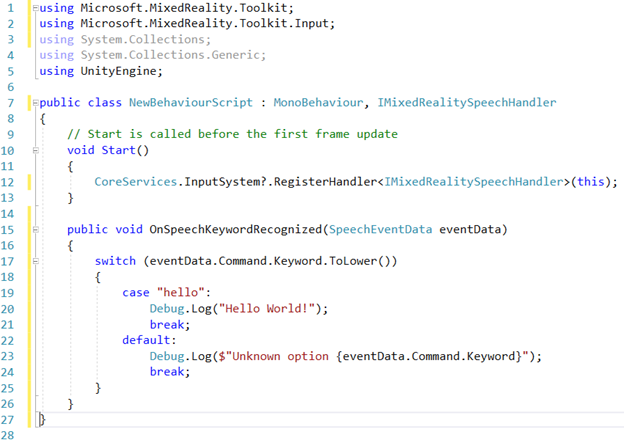
Add a new method to support the interface, OnSpeechKeywordRecognized() as follows:
Public void OnSpeechKeywordRecognized(SpeechEventData eventData)
{
switch(eventData.Command.Keyword.ToLower())
{
case “hello”:
Debug.Log(“Hello World!”);
break;
default:
Debug.Log($”Unknown option {eventData.Command.Keyword}”);
break;
}
}
-
Remove the Update() method from the file as it is not used. The completed script appears below:
- Save the files.
- The MRTK Project Configuration Dialog will appear; just close it.
-
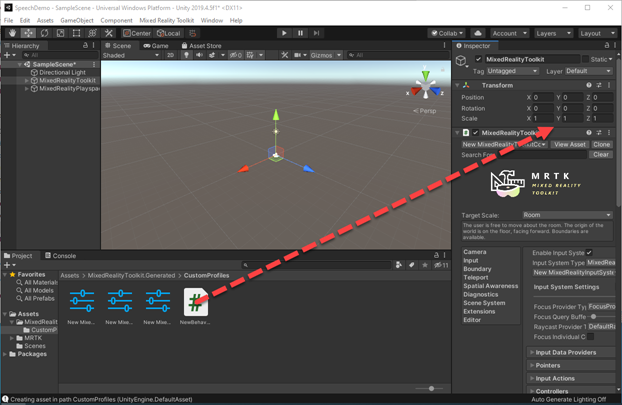
Associate the script to the MixedReality Toolkit object in the game hierarchy by dragging it to between two components in the object in the Inspector window.
-
Run the application and say “hello.” In the debug window, you’ll see Hello World!

If you want to get a copy of the final project, it’s available at https://github.com/rlbogue/UnityPublic/tree/master/SpeechDemo
No comment yet, add your voice below!